Exercise 2.4: Exploring the API
Objective
Understand the API behind NGINX Instance Manager.
NGINX Instance Manager uses a simple API for almost all functions it provides. We look to provide an API first in existing and new features. This Exercise explores the provided API but does not exhaust options for the API.
You are highly encouraged to explore the API further and adapt the use of it for your own needs.
Guide
Step 1: Explore the Swagger UI API Page
For this step, open the user interface for nginx-manager in
the UDF dashboard. You can select the ACCESS menu under
NGINX Manager Server and the NGINX INSTANCE MANAGER UI selection.
This will open the user interface in a new browser tab.
Navigate to the Docs module under the drop down menu. Your window should look similar to the one below.

We will use this page for the majority of the lesson.
Step 2: Get information on the system
The swagger-ui page is an easy way to test the API on your nginx-manager
instance. Let’s explore the Catalogs section first.
Click on the GET button for /analytics/catalogs/metrics

This action just explains the API that is there and the sample information it provides. We can also use this page to make real API calls.
Click on the try it button then click the Execute button and scroll down to see if we captured some results.
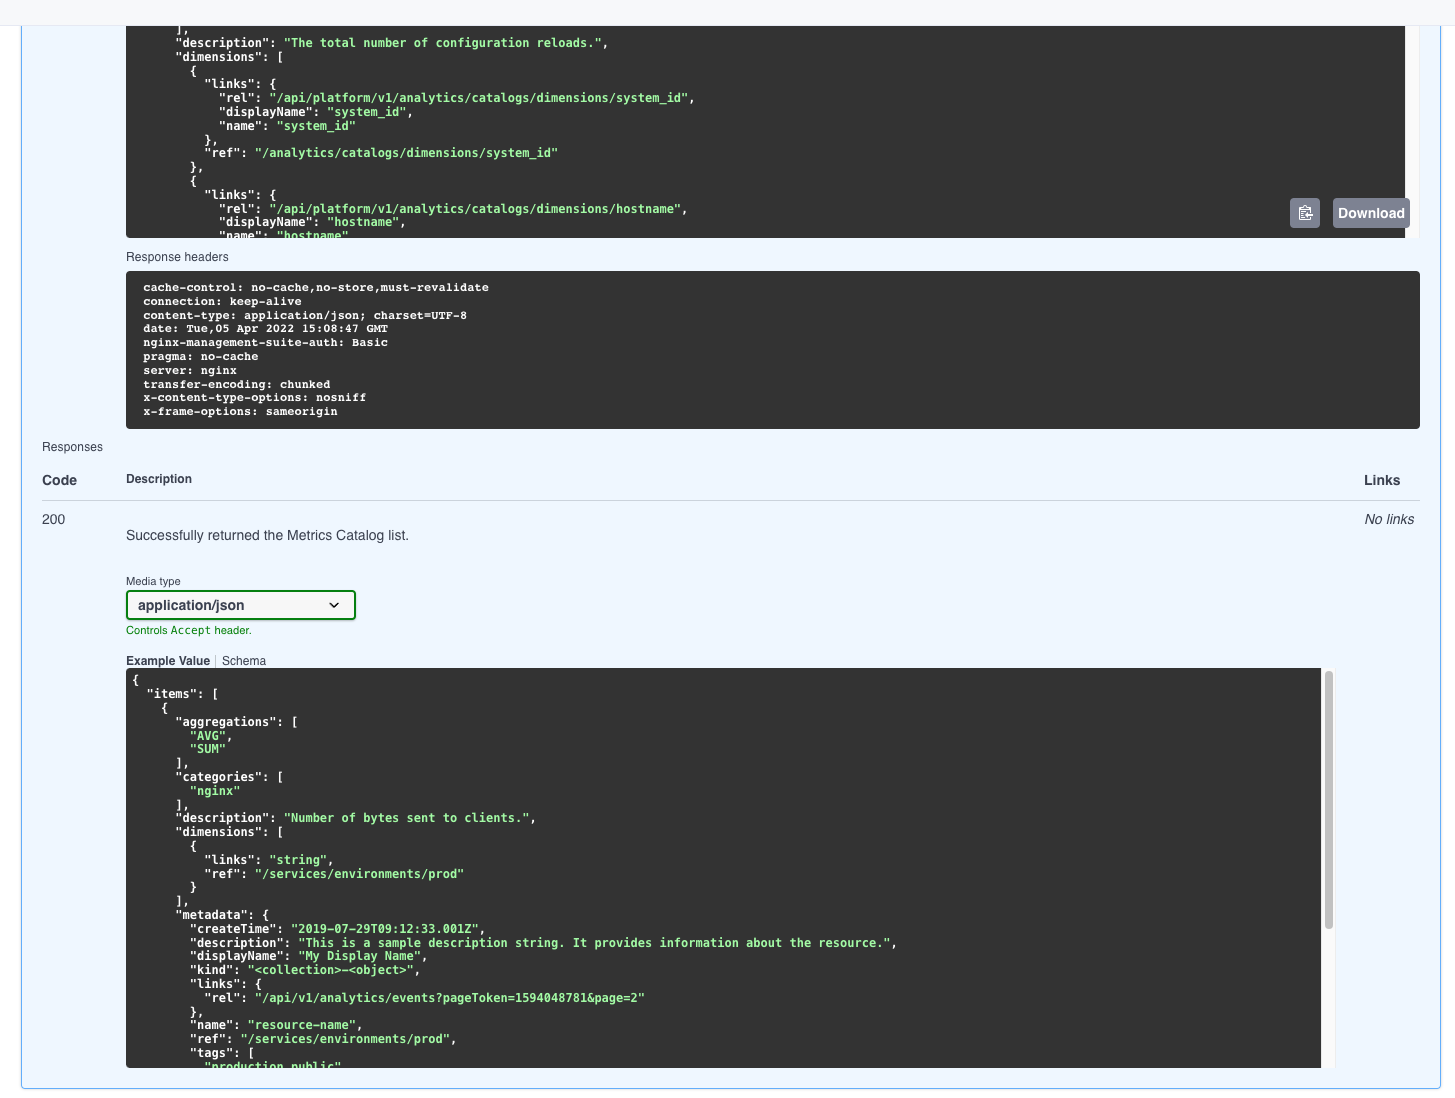
Notice we have a curl command example. You can copy and paste that line
into an instance with curl installed and try it yourself. The page
allows us to try it also.
Notice how we now see information in the details pane. If you look closely you can see this is actual data from our installed instance.
Note
The UDF environment is proxying traffic through a strange long URL.
In your environment, this URL won’t be present in the same way
and should come across as nginx-manager.f5demolab.com or similar.
If you want, try copying the curl command and replacing the URL with
nginx-manager.f5demolab.com:443 on the command line to verify.
Step 3: Get a list of instances
Let’s move on to something more useful. Every instance has a systemUid assigned by nginx-manager when
first contact is made between the agent and the server. The systemUid
is unique for each instance managed. We are going to find the systemUid uid
for the Ubuntu server using the API.
Note
You can write your own methods to use the hostname to extract the systemUid
but for this exercise we will use the actual value for systemUid
Scroll to the NGINX Instances section and find the API call for
GET /instances. Expand that call and click the Try it out
button.
Click Execute and examine the results for the ubuntu instance.
When you find it, copy the systemUid and uid value down and we will use it
for the Step 4.
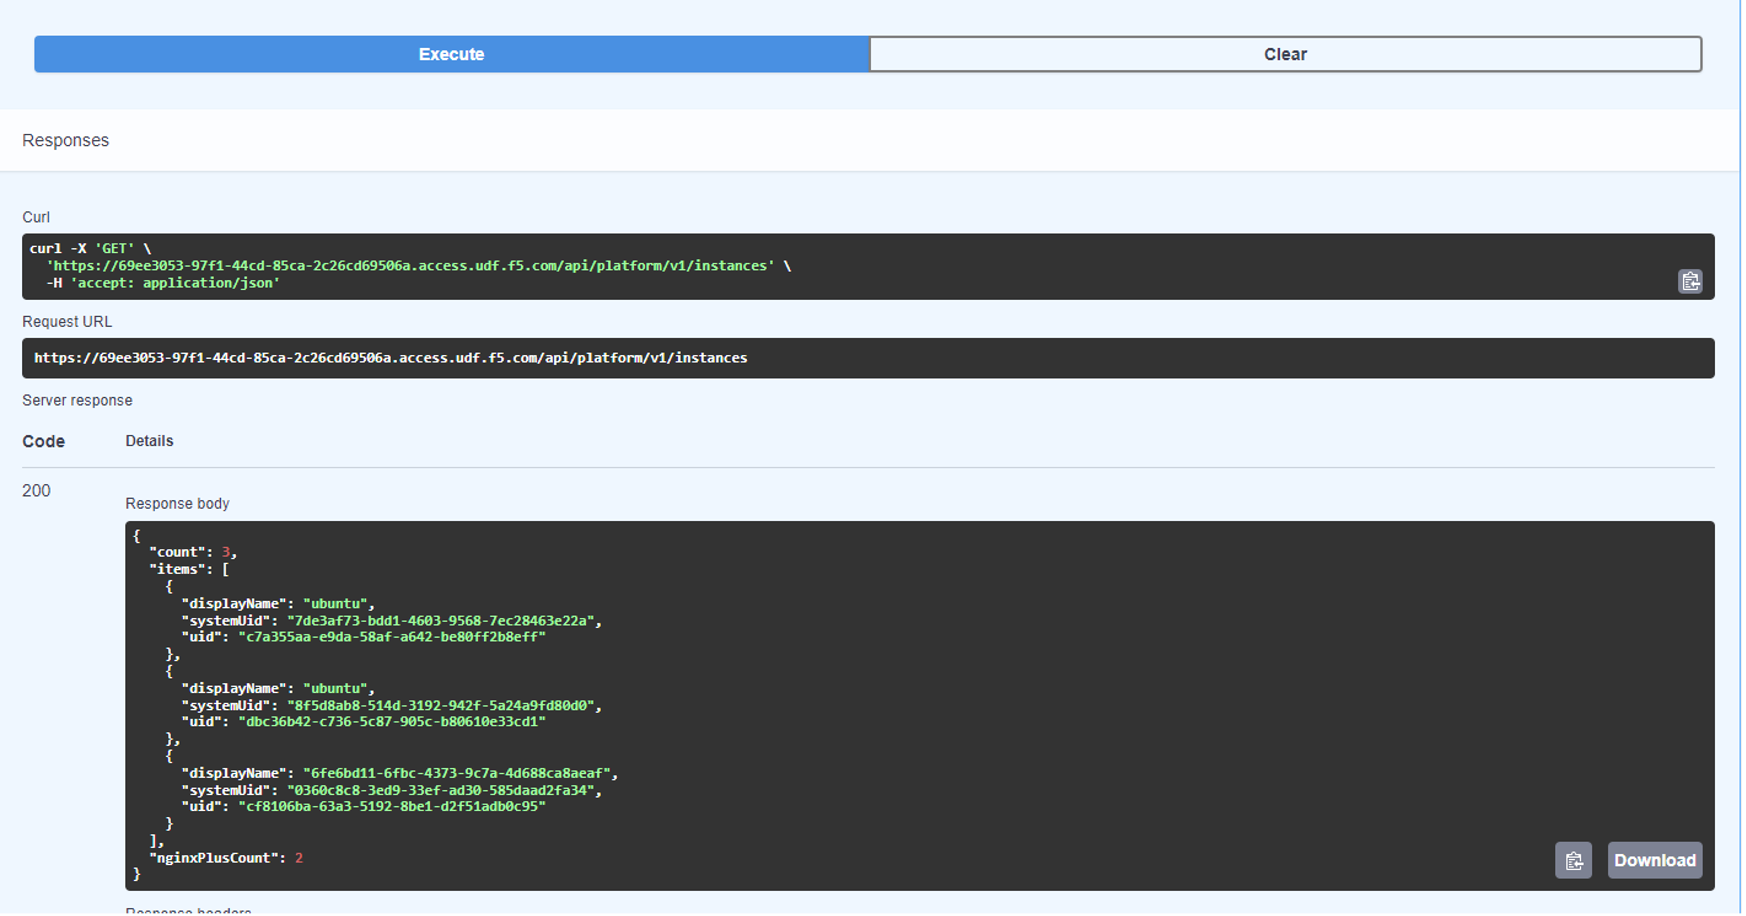
Note
Use notepad or some place to copy and paste this value. It will be helpful in case you click off the screen or overwrite the copy buffer.
Step 4: Get the configuration of an instance
Make sure you have the systemUid and uid from Step 3 for ubuntu.
Scroll down on the Swagger-UI page in the NGINX Instances section
to GET /systems/{systemUid}/instances/{nginxUid}/config. Expand that API
and push the Try it out button.
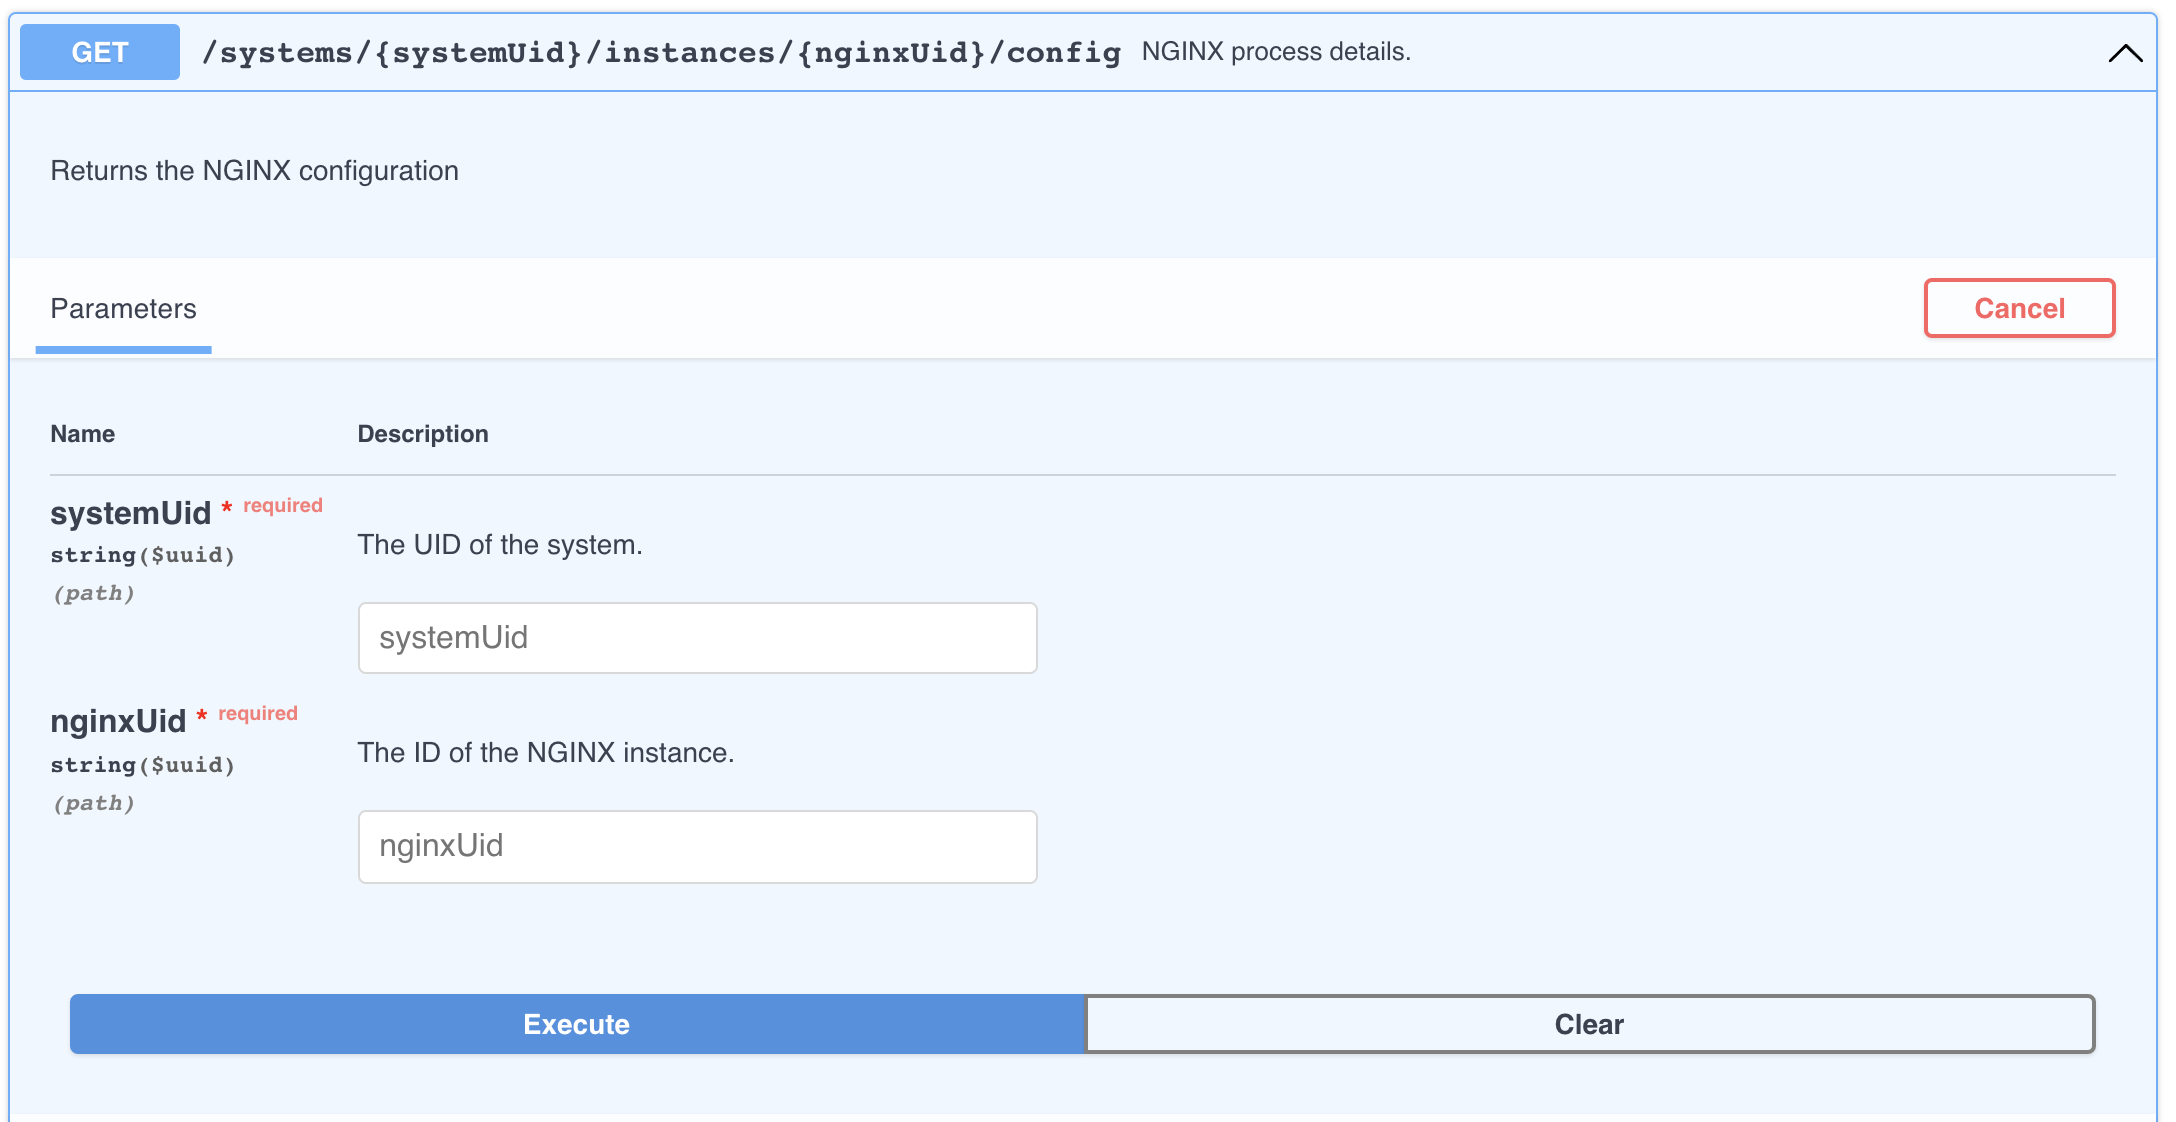
In the parameters section, the field systemUid and uid are in bold and
have a red * indicating it is required. The GET command requires
we enter the systemUid and uid.
Paste or type in the systemUid and uid from Step 3 and select Execute
Note
If you can’t type or paste it in, be sure you clicked Try it out
first.
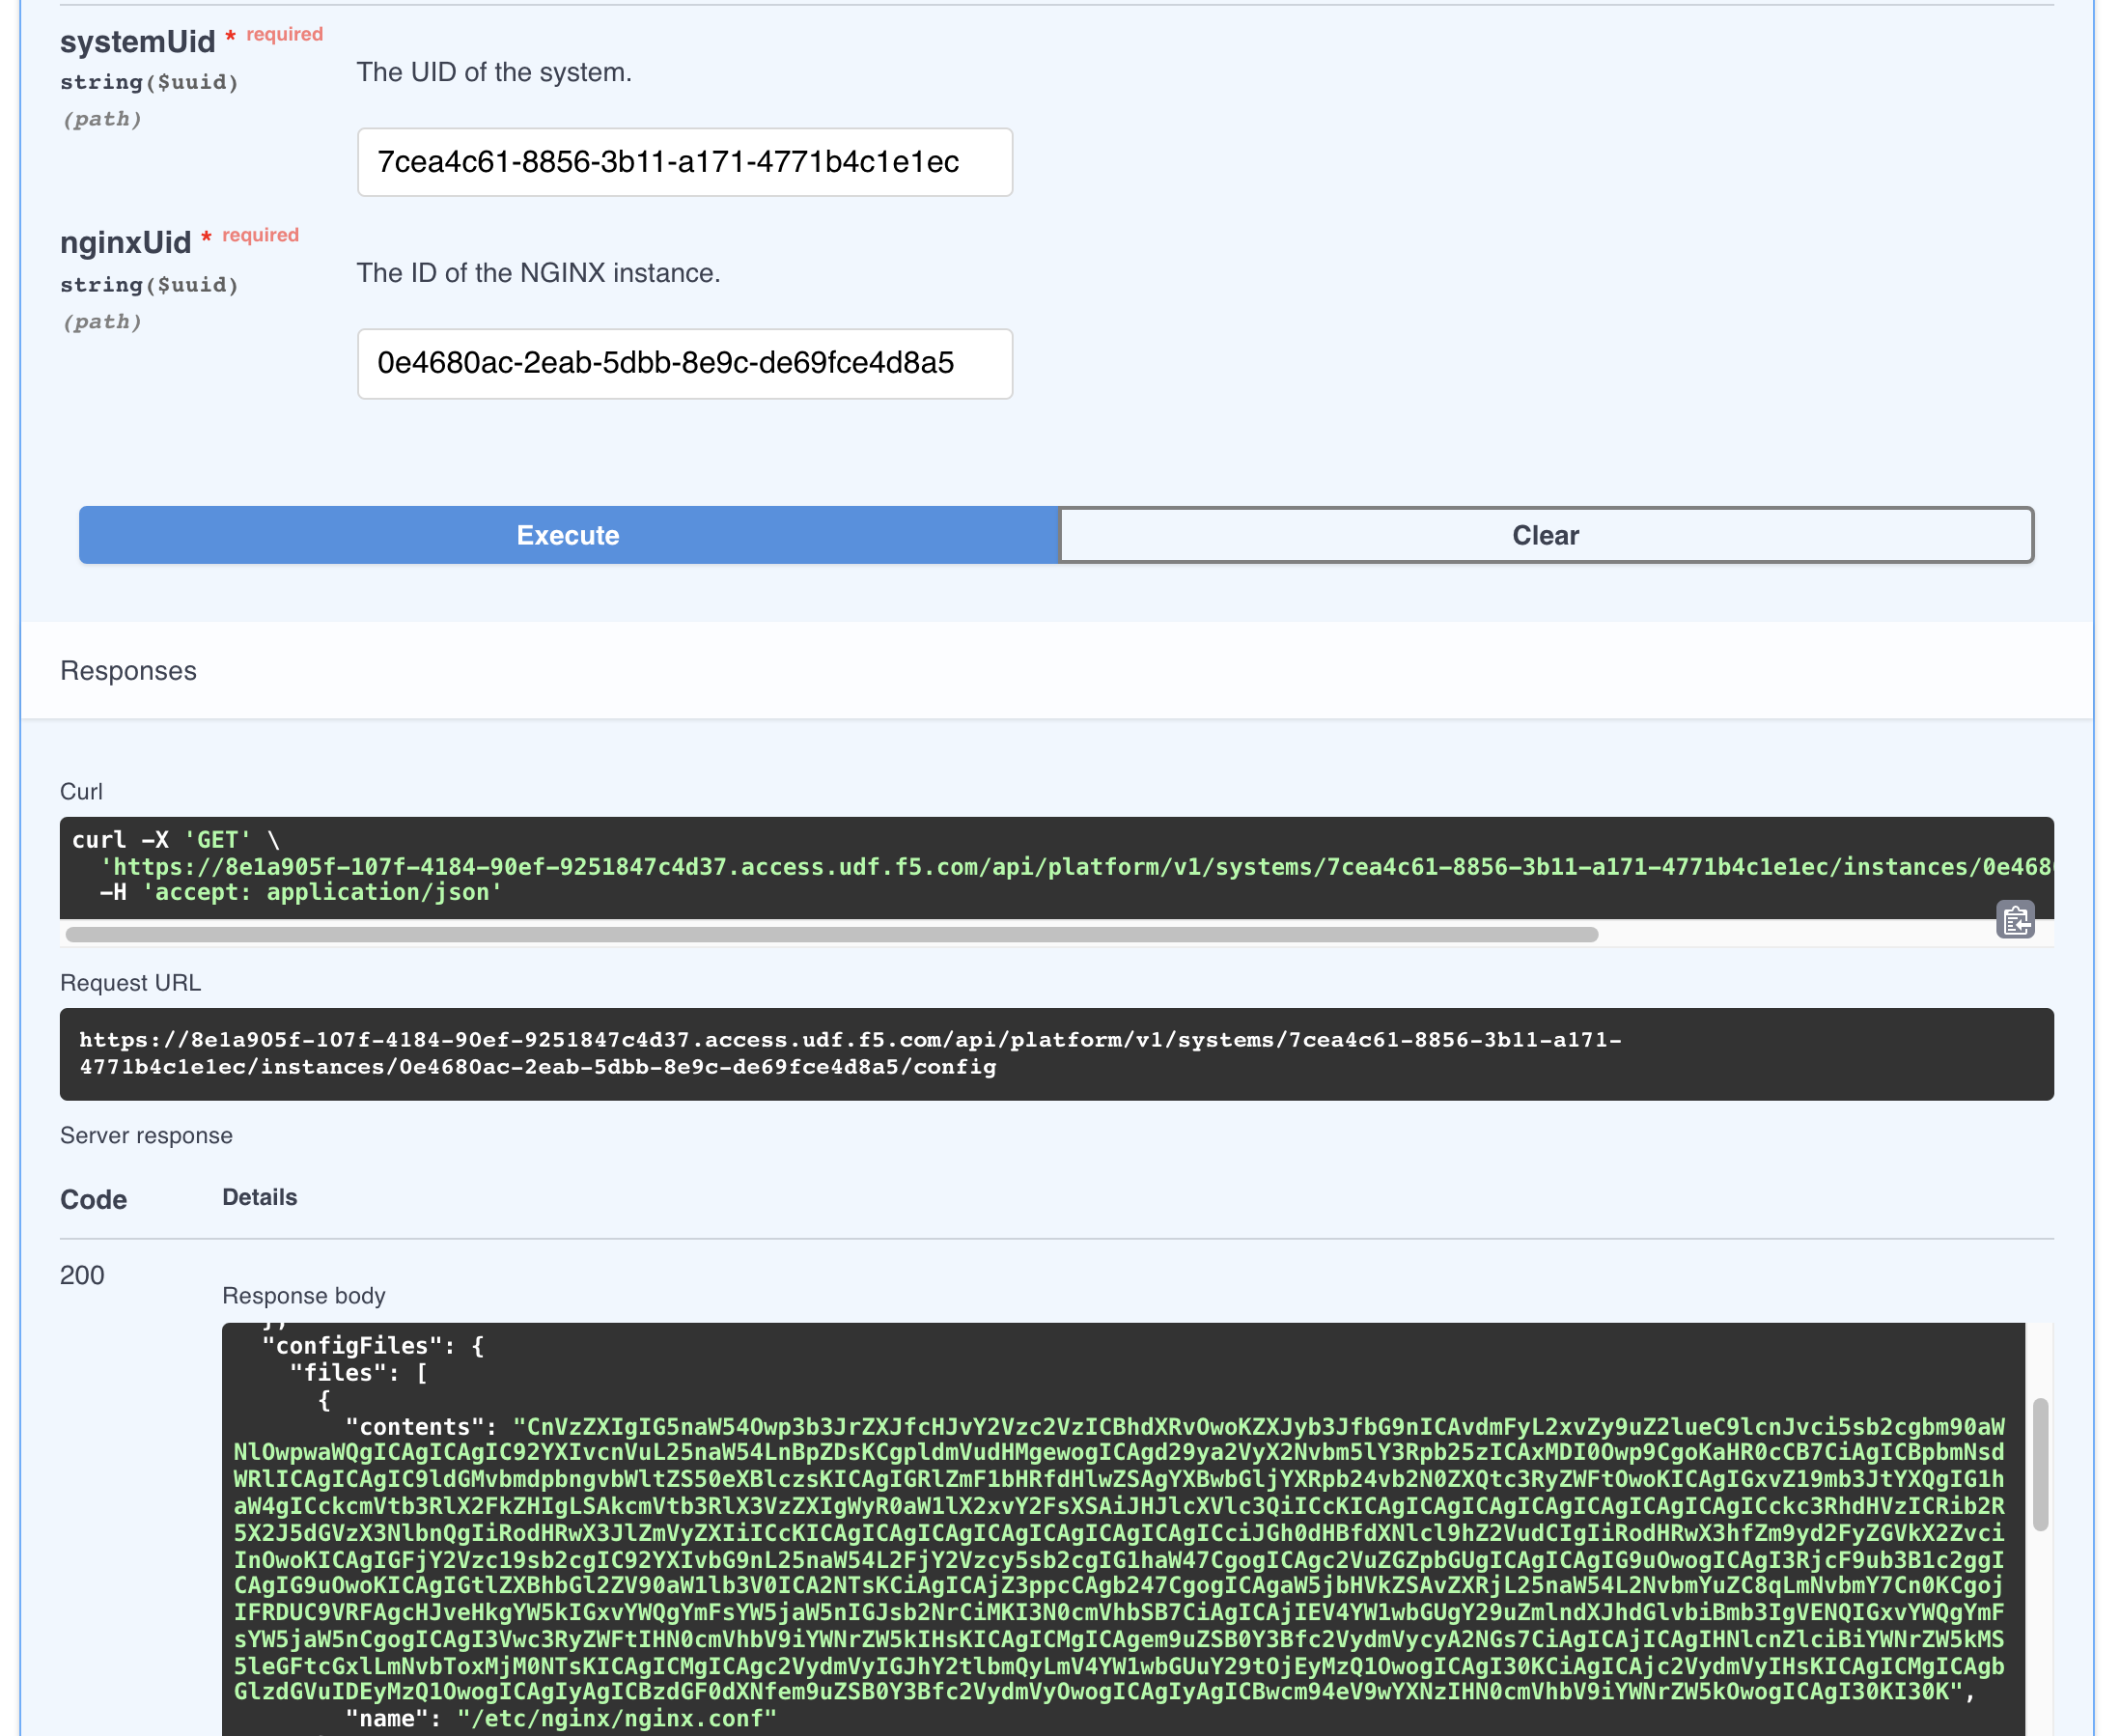
Scroll down to the Response body and scroll down to see the different
includes listed. For each section there is a name field which tells
us the location and name of the .conf file; and there is a contents
field that contains a base64 value representing the contents.
When we use APIs to handle text files (such as nginx.conf) we often will
encode them to avoid copy/paste errors. If you notice, the structure of
the response is in application/json format. The usual nginx.conf format
contains characters that would have to encoded very carefully so as not to
conflict with the json payload. Instead of doing this, we convert the
contents to base64 (a long string of characters) that is easily used with
API calls and the application/json format.
In the response body section, find the name: that says
"/etc/nginx/conf.d/default.conf and copy the value in the
contents: section.
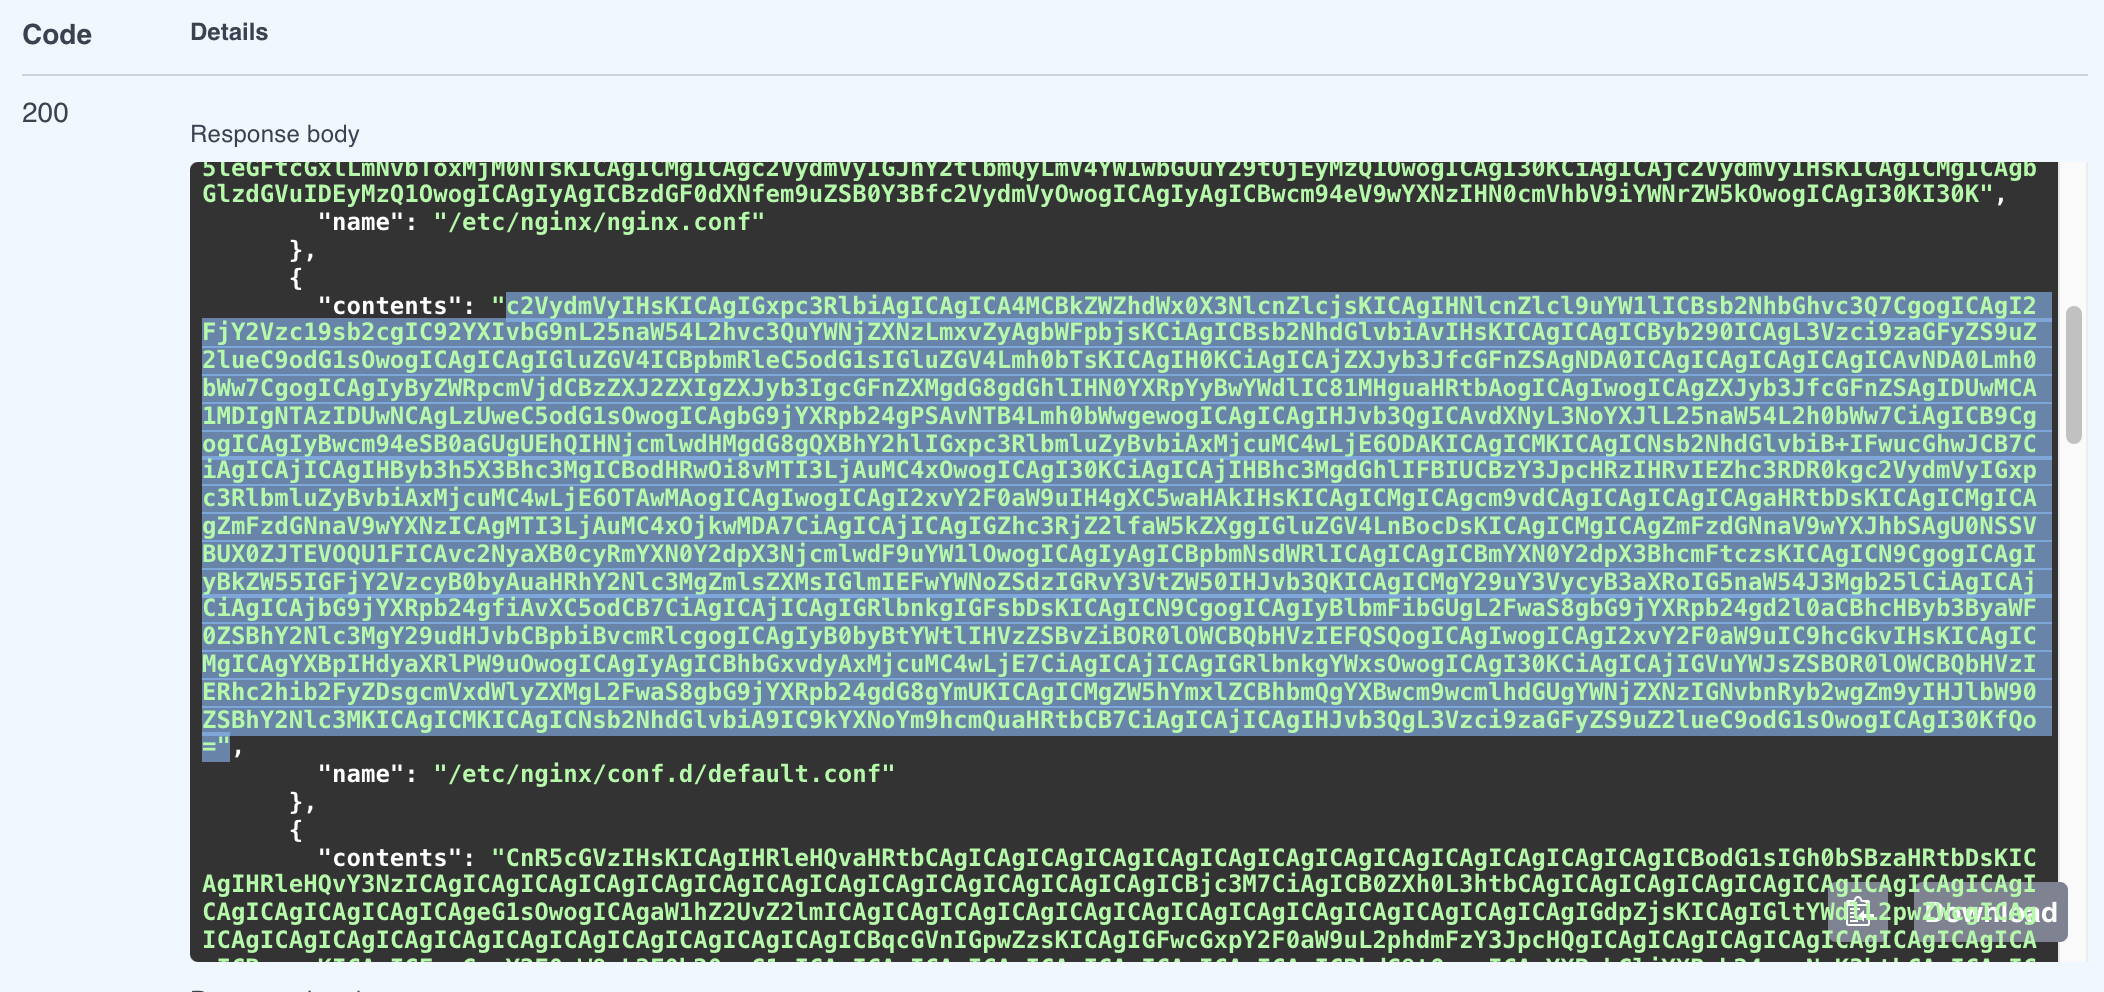
Let’s use the contents to see if the base64 string makes sense. We can use a
website or go on the nginx-manager Web Shell CLI to do this.
Option 1: Use website
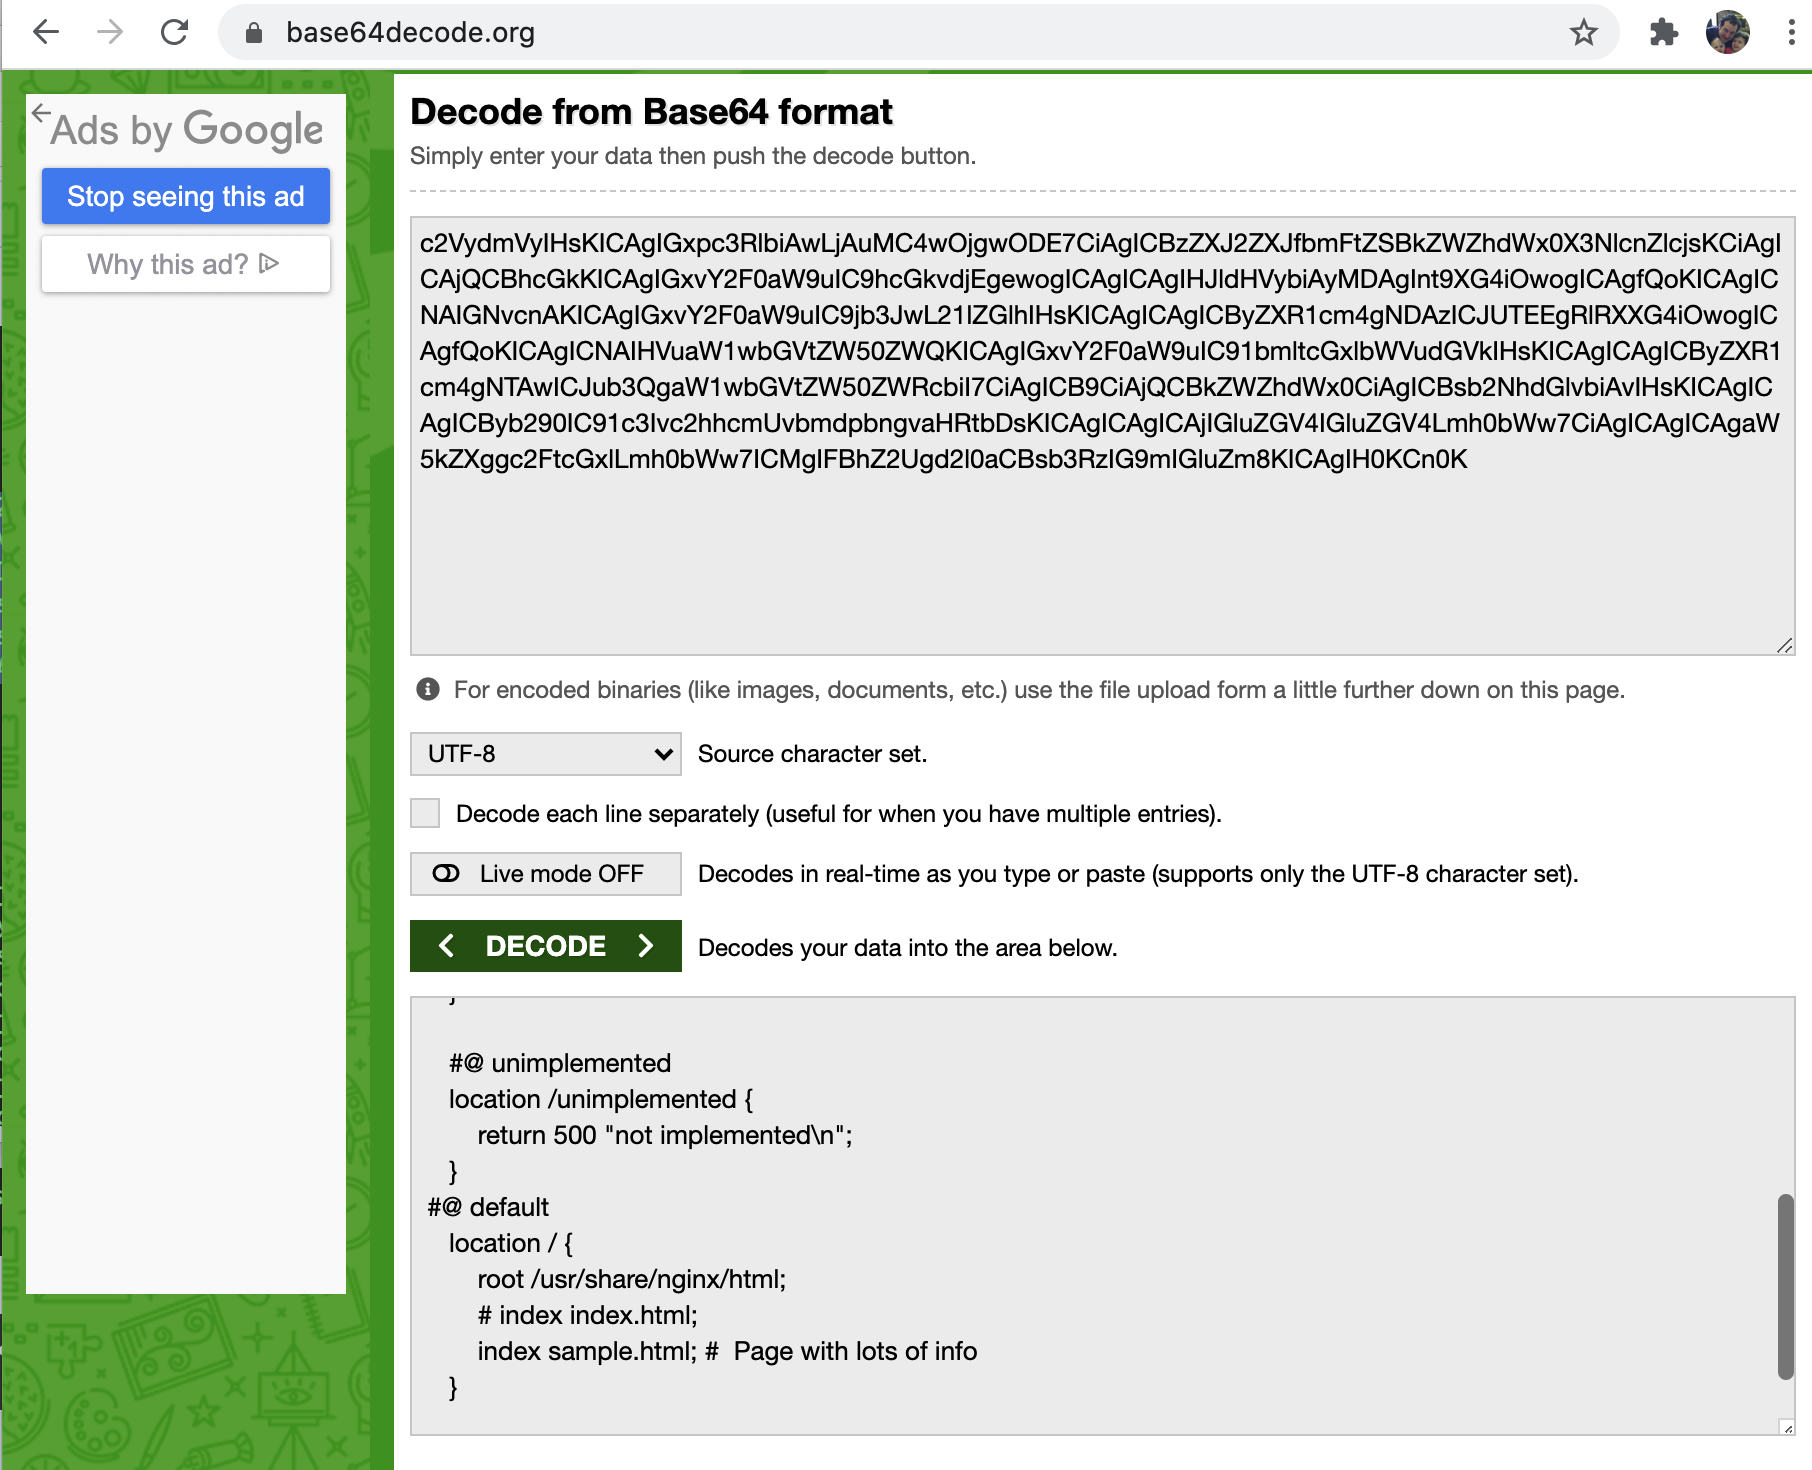
Open a new window and navigate to https://www.base64decode.org/
Paste the value of the contents into the window and select the < DECODE > button.
The results in the bottom panel should show the default.conf we worked with earlier.
Option 2: Use Web Shell CLI
As the ubuntu user on nginx-manager run the following command. Put in the
value you copied from the response instead of using the one below (which may or may
not match your default.conf contents).
contents="c2VydmVyIHsKICAgIGxpc3RlbiAwLjAuMC4wOjgwODE7CiAgICBzZXJ2ZXJfbmFtZSBkZWZhdWx0X3NlcnZlcjsKCiAgICAjQCBhcGkKICAgIGxvY2F0aW9uIC9hcGkvdjEgewogICAgICAgIHJldHVybiAyMDAgInt9XG4iOwogICAgfQoKICAgICNAIGNvcnAKICAgIGxvY2F0aW9uIC9jb3JwL21lZGlhIHsKICAgICAgICByZXR1cm4gNDAzICJUTEEgRlRXXG4iOwogICAgfQoKICAgICNAIHVuaW1wbGVtZW50ZWQKICAgIGxvY2F0aW9uIC91bmltcGxlbWVudGVkIHsKICAgICAgICByZXR1cm4gNTAwICJub3QgaW1wbGVtZW50ZWRcbiI7CiAgICB9CiAjQCBkZWZhdWx0CiAgICBsb2NhdGlvbiAvIHsKICAgICAgICByb290IC91c3Ivc2hhcmUvbmdpbngvaHRtbDsKICAgICAgICAjIGluZGV4IGluZGV4Lmh0bWw7CiAgICAgICAgaW5kZXggc2FtcGxlLmh0bWw7ICMgIFBhZ2Ugd2l0aCBsb3RzIG9mIGluZm8KICAgIH0KCn0K"
echo $contents | base64 --decode
server {
    listen 0.0.0.0:8081;
    server_name default_server;

    location / {
        root /usr/share/nginx/html;
        # index index.html;
        index sample.html; #  Page with lots of info
    }

}
Step 5: Push a change to the configuration
Using notepad or some editor, copy the decoded values of the
default.conf file and make an edit, something you might notice.
The index lines under the default location / can be used.
If the sample.html is uncommented, a sample web page will be on the ubuntu instance.
If it is commented but the index.html is uncommented, the sample web page will
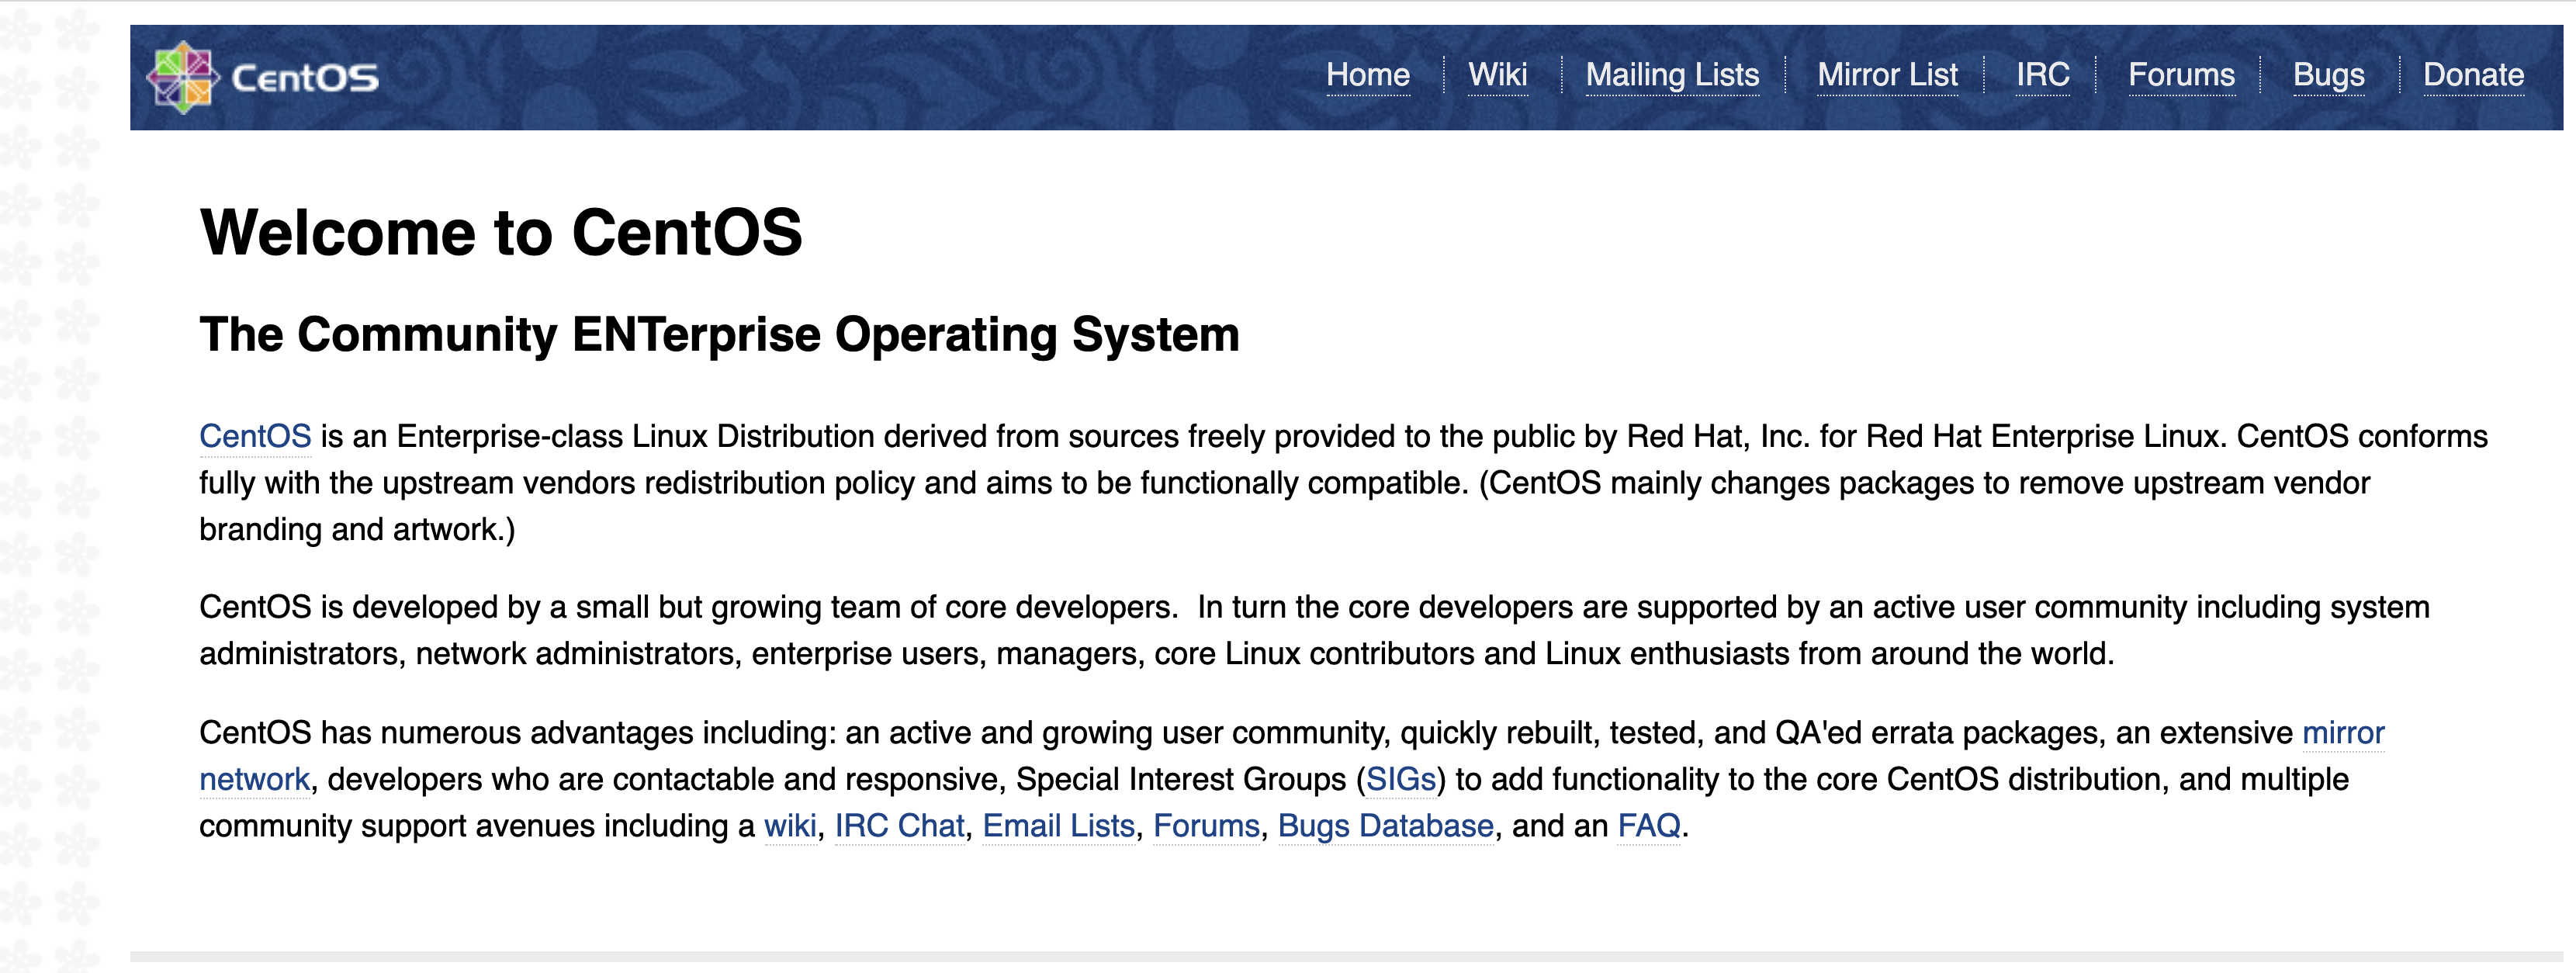
have a default Welcome to CentOS page instead.
You can check which page is there by going to the UDF Dashboard and
opening the Sample Web Page and looking at the result.
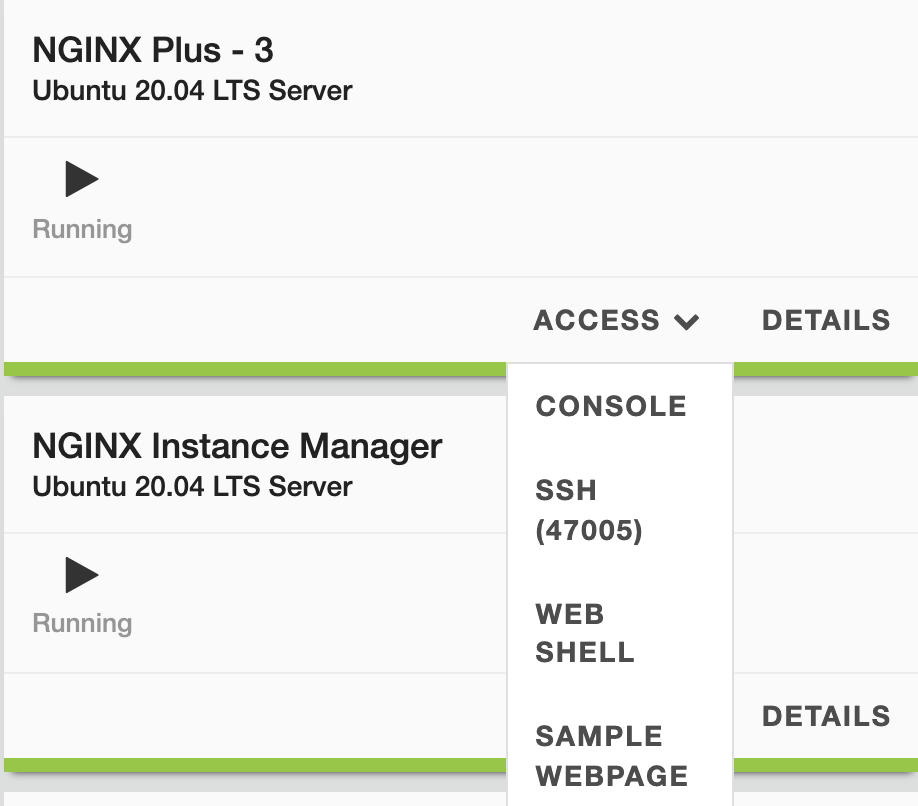
The custom page using sample.html looks like this:
The Welcome to CentOS page looks like this:
Now in the editor, change the line so that index.html is now
uncommented and sample.html is commented. Copy the contents of
the file so we can encode the results.
Option 1: Use website
You can open https://www.base64encode.org/ and paste the contents
into the form. Hit > ENCODE < and copy the results to use in the
API call.

Option 2: Use Web Shell CLI
Open a new file called encode.txt on the nginx-manager command line.
Paste in or make the changes and save the file as encode.txt. Then
copy the output to use in the API call.
server {
    listen 0.0.0.0:8081;
    server_name default_server;

    location / {
        root /usr/share/nginx/html;
        index index.html;
        # index sample.html; #  Page with lots of info
    }

    error_page   500 502 503 504  /50x.html;
    location = /50x.html {
        root   /usr/share/nginx/html;
    }


}
base64 encode.txt
c2VydmVyIHsKICAgIGxpc3RlbiAgICAgICAwLjAuMC4wOjgwODE7CiAgICBzZXJ2ZX
JfbmFtZSAgZGVmYXVsdF9zZXJ2ZXI7CgogICAgI2FjY2Vzc19sb2cgIC92YXIvbG9n
L25naW54L2hvc3QuYWNjZXNzLmxvZyAgbWFpbjsKCiAgICBsb2NhdGlvbiAvIHsKIC
AgICAgICByb290ICAgL3Vzci9zaGFyZS9uZ2lueC9odG1sOyAKCSAgICBpbmRleCBp
bmRleC5odG1sOyAKCSAgICAjaW5kZXggc2FtcGxlLmh0bWw7ICAjICBQYWdlIHdpdG
ggbG90cyBvZiBpbmZvCiAgICB9CgogICAgI2Vycm9yX3BhZ2UgIDQwNCAgICAgICAg
ICAgICAgLzQwNC5odG1sOwoKICAgICMgcmVkaXJlY3Qgc2VydmVyIGVycm9yIHBhZ2
VzIHRvIHRoZSBzdGF0aWMgcGFnZSAvNTB4Lmh0bWwKICAgICMKICAgIGVycm9yX3Bh
Z2UgICA1MDAgNTAyIDUwMyA1MDQgIC81MHguaHRtbDsKICAgIGxvY2F0aW9uID0gLz
UweC5odG1sIHsKICAgICAgICByb290ICAgL3Vzci9zaGFyZS9uZ2lueC9odG1sOwog
ICAgfQoKICAgICMgcHJveHkgdGhlIFBIUCBzY3JpcHRzIHRvIEFwYWNoZSBsaXN0ZW
5pbmcgb24gMTI3LjAuMC4xOjgwCiAgICAjCiAgICAjbG9jYXRpb24gfiBcLnBocCQg
ewogICAgIyAgICBwcm94eV9wYXNzICAgaHR0cDovLzEyNy4wLjAuMTsKICAgICN9Cg
ogICAgIyBwYXNzIHRoZSBQSFAgc2NyaXB0cyB0byBGYXN0Q0dJIHNlcnZlciBsaXN0
ZW5pbmcgb24gMTI3LjAuMC4xOjkwMDAKICAgICMKICAgICNsb2NhdGlvbiB+IFwucG
hwJCB7CiAgICAjICAgIHJvb3QgICAgICAgICAgIGh0bWw7CiAgICAjICAgIGZhc3Rj
Z2lfcGFzcyAgIDEyNy4wLjAuMTo5MDAwOwogICAgIyAgICBmYXN0Y2dpX2luZGV4IC
BpbmRleC5waHA7CiAgICAjICAgIGZhc3RjZ2lfcGFyYW0gIFNDUklQVF9GSUxFTkFN
RSAgL3NjcmlwdHMkZmFzdGNnaV9zY3JpcHRfbmFtZTsKICAgICMgICAgaW5jbHVkZS
AgICAgICAgZmFzdGNnaV9wYXJhbXM7CiAgICAjfQoKICAgICMgZGVueSBhY2Nlc3Mg
dG8gLmh0YWNjZXNzIGZpbGVzLCBpZiBBcGFjaGUncyBkb2N1bWVudCByb290CiAgIC
AjIGNvbmN1cnMgd2l0aCBuZ2lueCdzIG9uZQogICAgIwogICAgI2xvY2F0aW9uIH4g
L1wuaHQgewogICAgIyAgICBkZW55ICBhbGw7CiAgICAjfQoKICAgICMgZW5hYmxlIC
9hcGkvIGxvY2F0aW9uIHdpdGggYXBwcm9wcmlhdGUgYWNjZXNzIGNvbnRyb2wgaW4g
b3JkZXIKICAgICMgdG8gbWFrZSB1c2Ugb2YgTkdJTlggUGx1cyBBUEkKICAgICMKIC
AgICNsb2NhdGlvbiAvYXBpLyB7CiAgICAjICAgIGFwaSB3cml0ZT1vbjsKICAgICMg
ICAgYWxsb3cgMTI3LjAuMC4xOwogICAgIyAgICBkZW55IGFsbDsKICAgICN9CgogIC
AgIyBlbmFibGUgTkdJTlggUGx1cyBEYXNoYm9hcmQ7IHJlcXVpcmVzIC9hcGkvIGxv
Y2F0aW9uIHRvIGJlCiAgICAjIGVuYWJsZWQgYW5kIGFwcHJvcHJpYXRlIGFjY2Vzcy
Bjb250cm9sIGZvciByZW1vdGUgYWNjZXNzCiAgICAjCiAgICAjbG9jYXRpb24gPSAv
ZGFzaGJvYXJkLmh0bWwgewogICAgIyAgICByb290IC91c3Ivc2hhcmUvbmdpbngvaH
RtbDsKICAgICN9Cn0K
Keep the encoded base64 in a notepad or a way to copy and paste. Click the copy button on the results in the API call to copy the entire response for now.
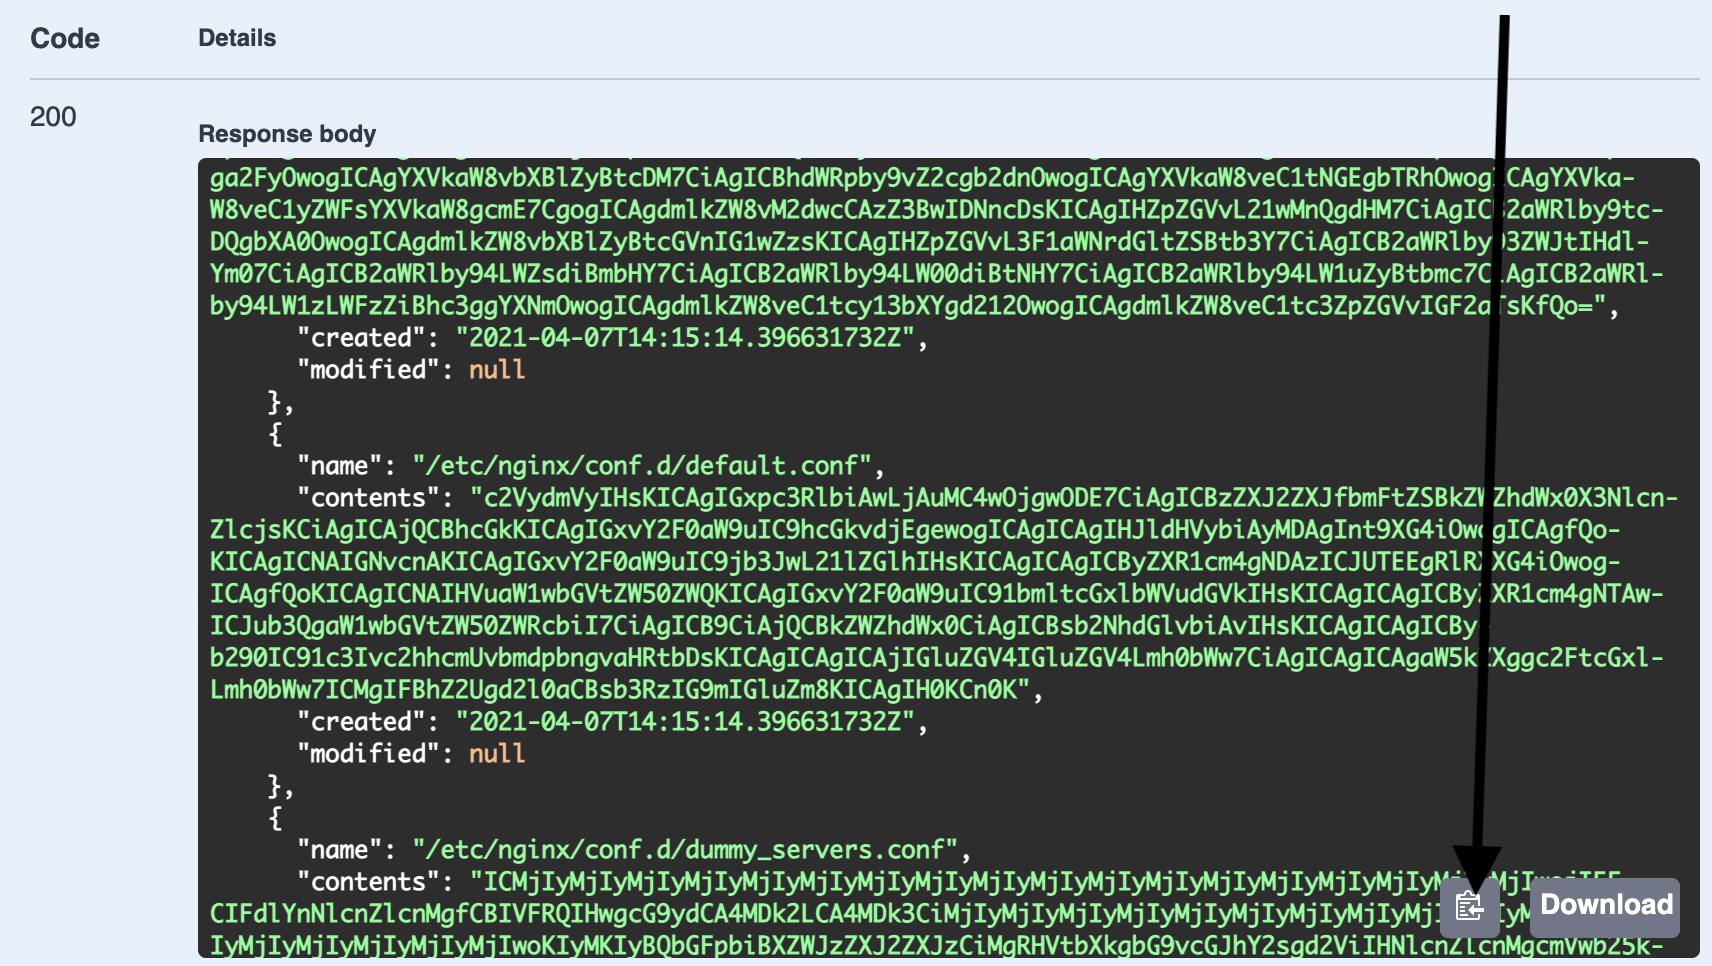
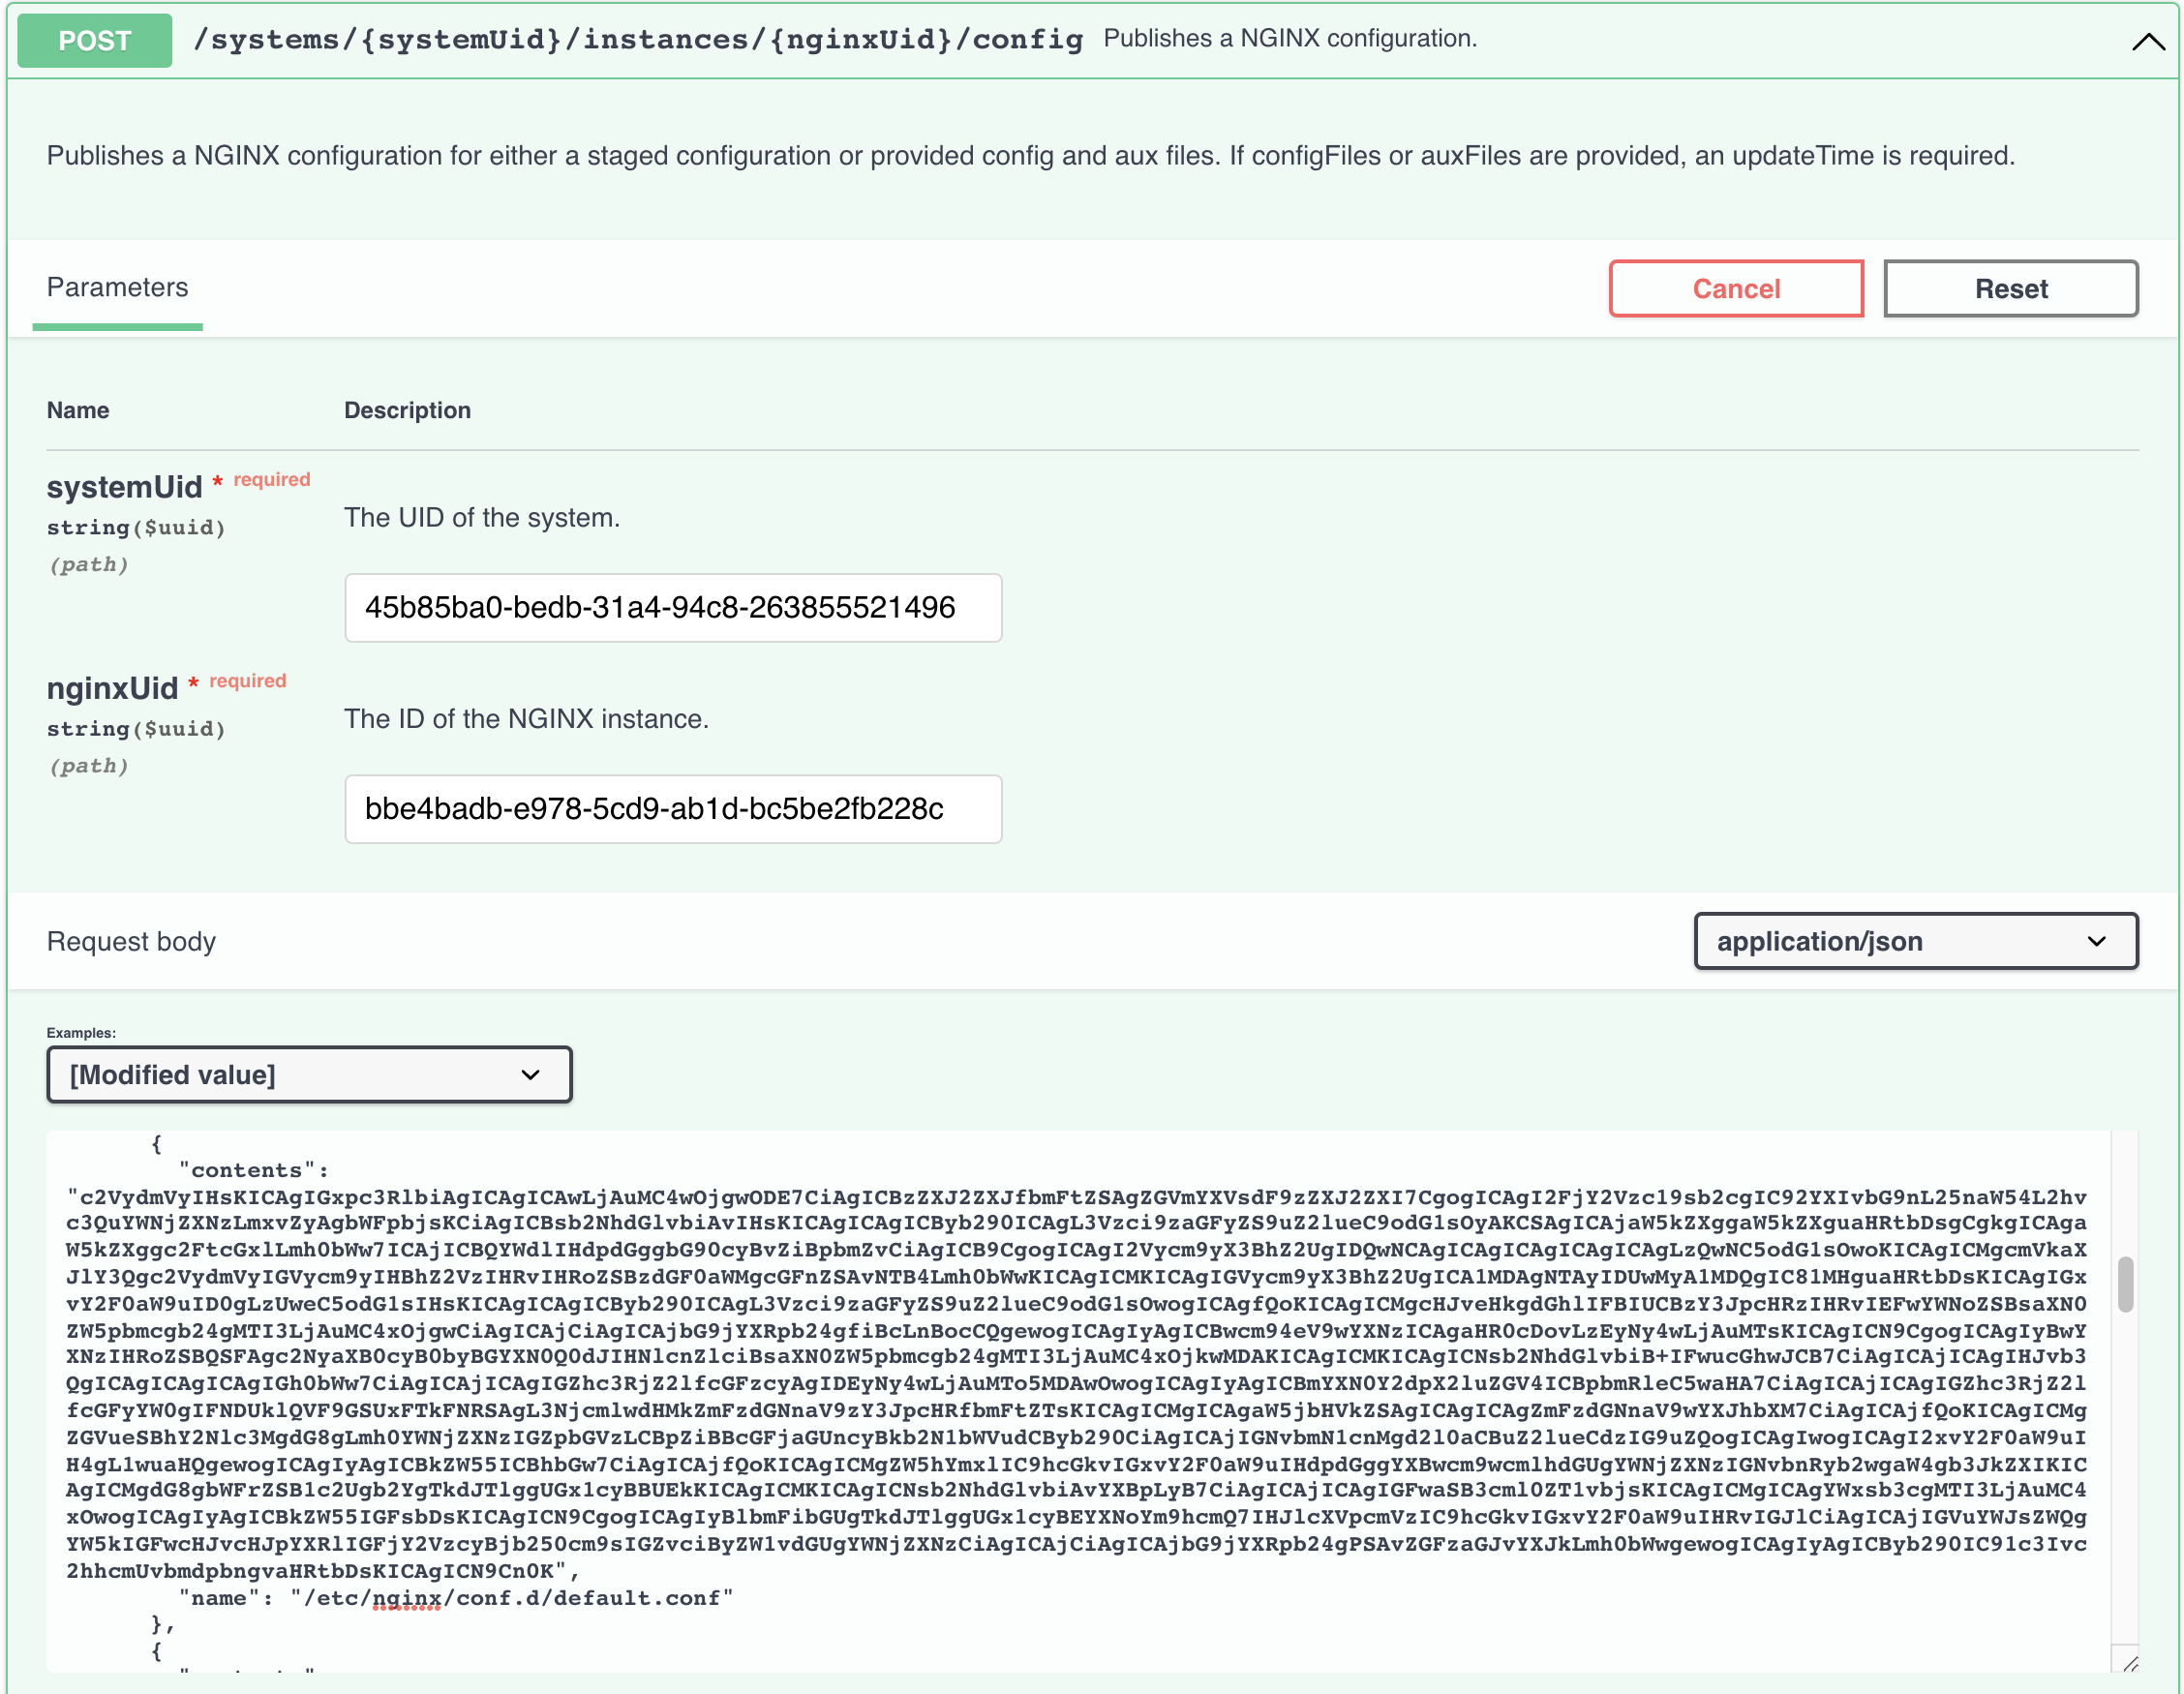
Navigate to the POST /systems/{systemUid}/instances/{nginxUid}/config API call and expand it.
Click the Try it out button and paste in the systemUid and uid from before and also
the entire contents of the GET command.
Now go into the body parameter and change the value for contents: under
default.conf with the value we encoded.
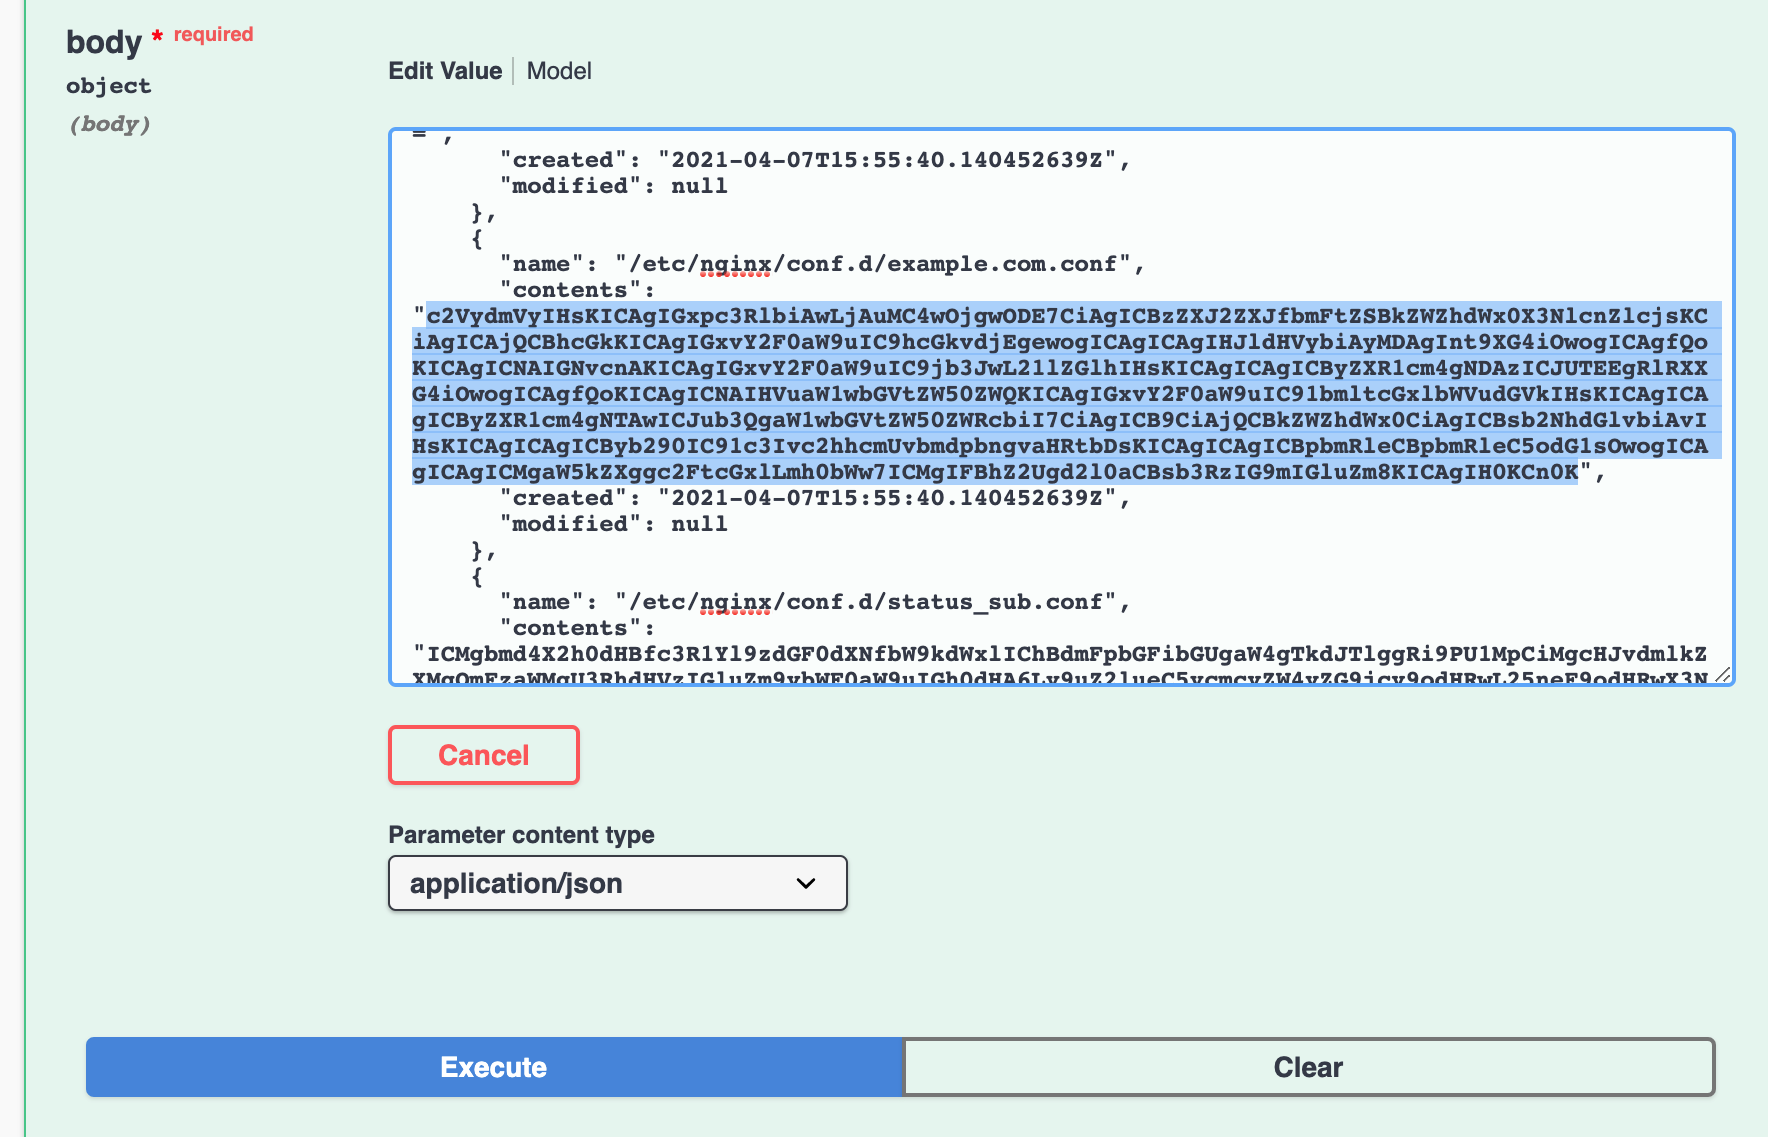
Hit Execute and check there is no error.
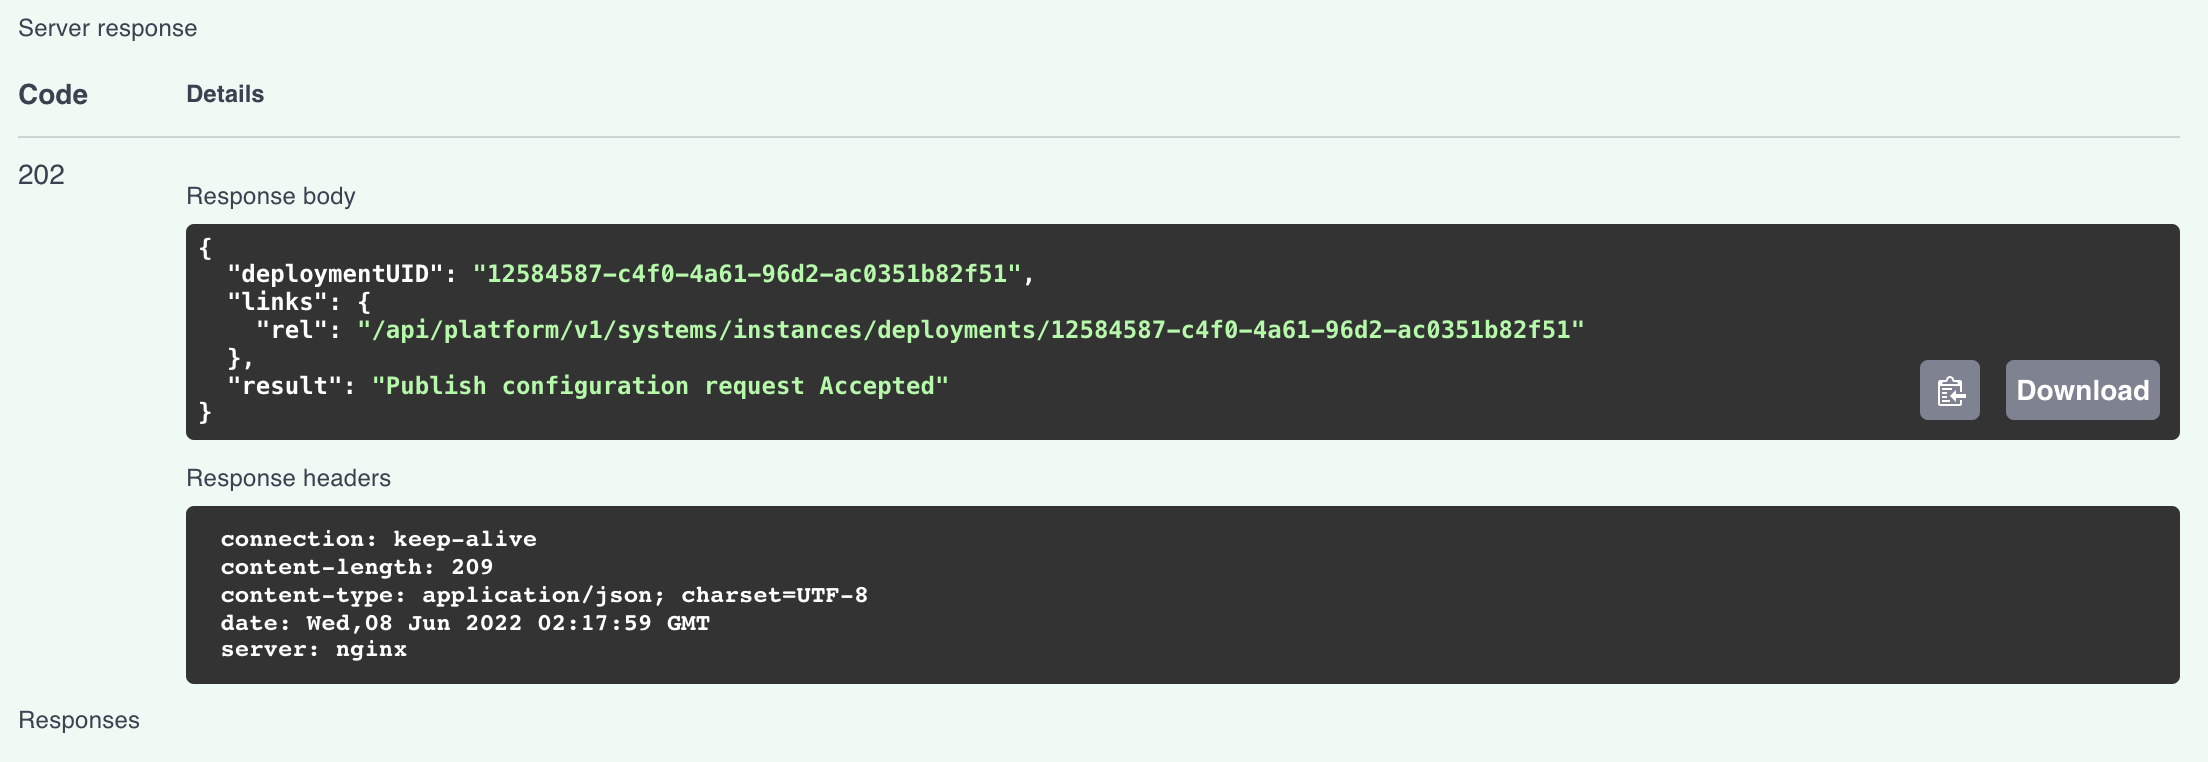
Now the new configuration is deployed, let’s make sure it was applied successfully. Lets copy the deploymentUID and paste into the /systems/instances/deployments/{deploymentsUid}
endpoint and hit Execute
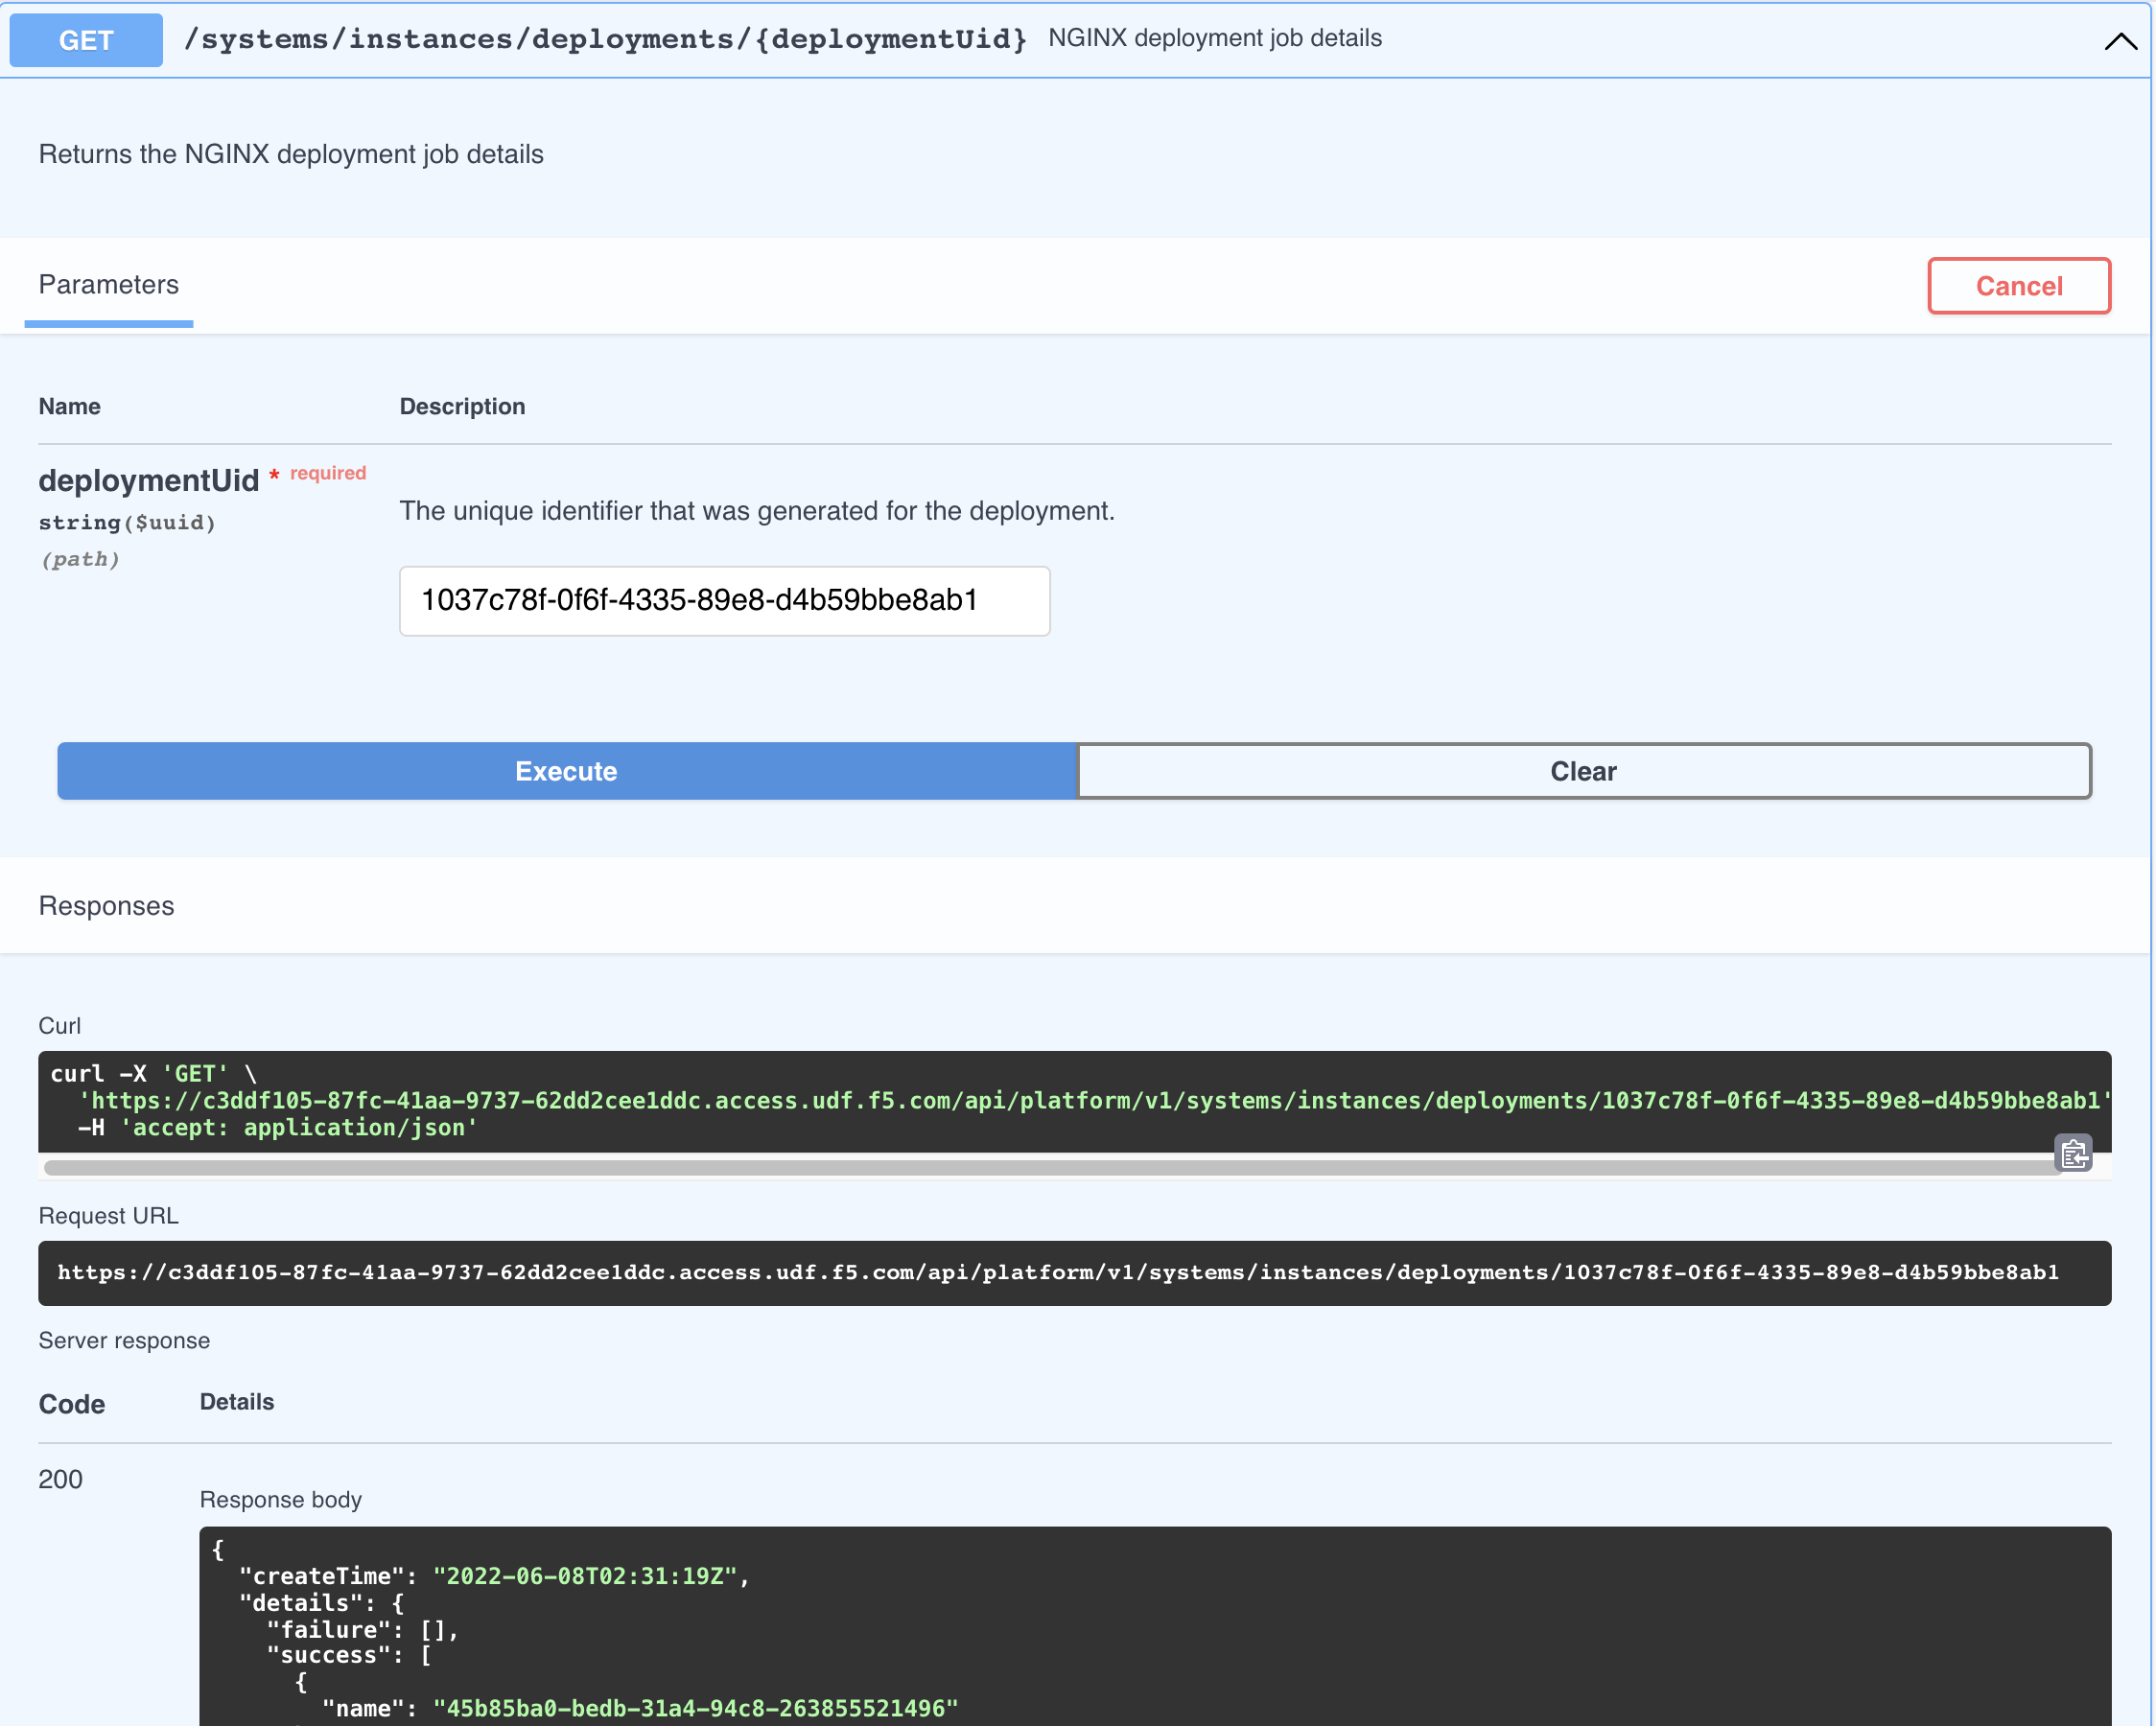
Now the new configuration is successfully deployed.
Hit refresh on the sample web page we opened earlier (likely in another tab)
and notice the page should now display the Welcome to CentOS page.
The Welcome to CentOS page looks like this:
Step 6: Go play with other API calls
Feel free to explore other API calls.